New Windows: The Right Step Towards Winter-Proofing
While you may be tempted to crank up the heat when the winter chill hits, winterizing your new windows can save you money on your heating bill. Air can travel in and out of your home during any season. But in wintertime, you can quickly tell that your home is colder and your energy bills are higher.
Since there are multiple windows throughout your home, there’s more opportunity for you to lose heated indoor air or let in chilly outside air. To minimize the effects of winter on your windows, you need to follow these steps each year to make sure they’re in prime condition and ready for the season.
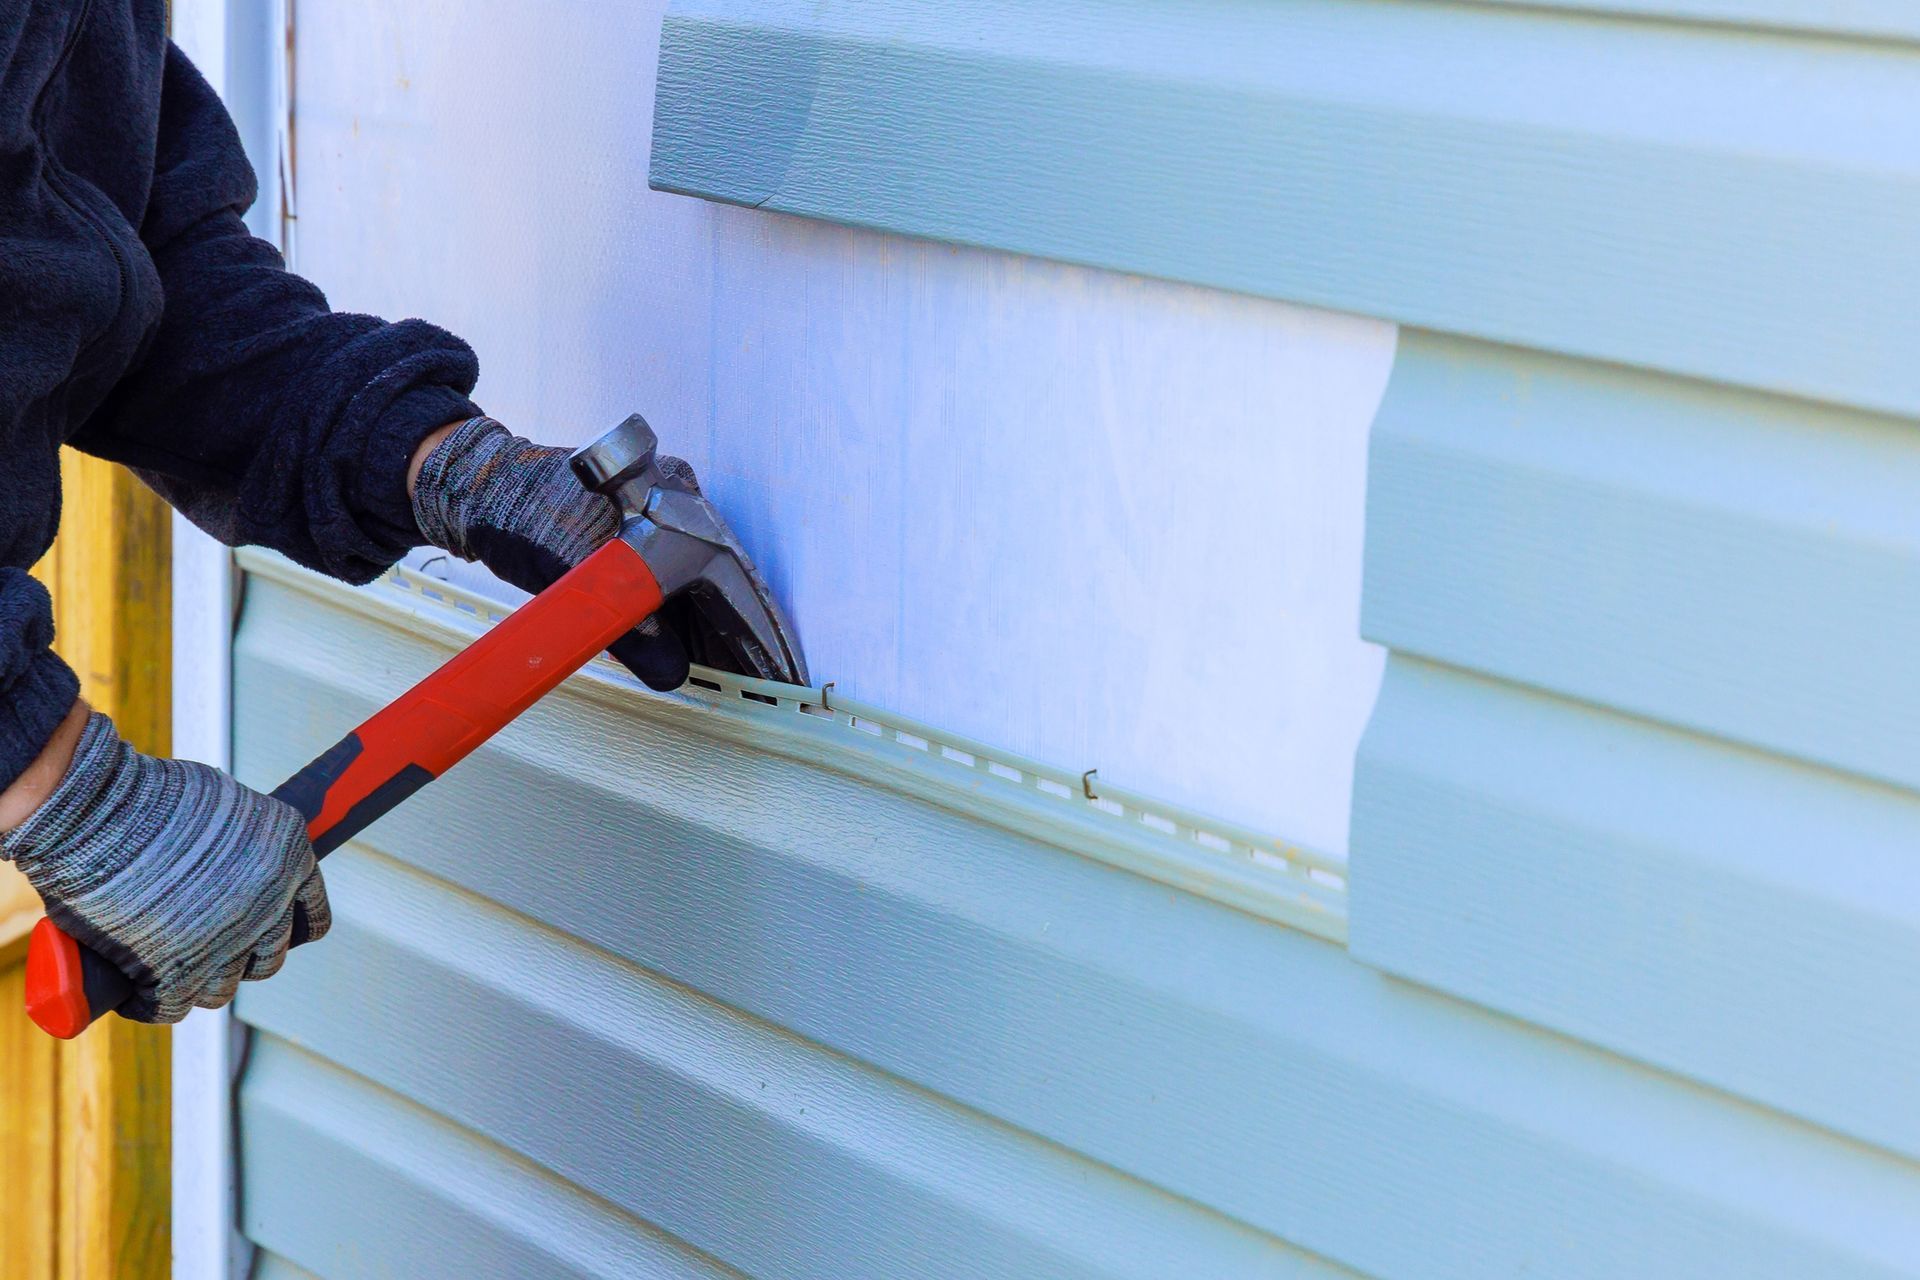
Step 1: Caulk and Seal New Windows
Caulking and sealant are critical during the winter months. This creates a barrier between the window frame and exterior siding. Therefore, it is vital that the caulking and sealant remain intact and in excellent condition. In addition, you need to check out each window to ensure everything is in working order and that all seals are airtight — and watertight. While air will make your home cold, water that seeps in and freezes can do even more damage.
Examine where the exterior of your window meets the house to inspect the seal. Pay close attention to the caulking at the lower corners of the windows and under joints between window combinations, where water is likely to collect. If you spot cracked, dry, broken, or brittle sealant, apply new caulking to fix it and rebuild that barrier.
What to do:
- Use a knife to scrape any old caulk or peeling paint off exterior or interior window edges. Clean off any debris.
- Fill a caulking gun with silicone caulking.
- Apply caulk between the window frame and siding.
- Allow the caulk to dry and cure overnight.
- Repeat as needed on more windows.
Step 2: Apply new weatherstripping
Once you have fixed the sealant around your windows, you should install new weatherstripping. Quality weatherstripping should be tight, covering the space between the window sash and frame to reduce air leaks and prevent water from entering your home. In most cases, you can simply unsnap the current weatherstripping and replace it with a new piece. There are a variety of weatherstripping products to choose from, and what you need may depend on the type of window you have:
- Adhesive-backed foam compresses seal gaps and leaks between the window and the sash.
- Tubular rubber gaskets are hollow rubber tubes that help seal gaps.
- Felt weatherstripping is one of the oldest kinds and still, can do the job in a pinch, but it may not last as long.
- Spring V-seals are metal or plastic strips that create tension seals to help prevent drafts.
What to do:
- Cut the strips according to your window dimensions.
- Peel the adhesive off the strip and align the rubber down your window frame to cover any gaps.
- Repeat as needed on more windows.
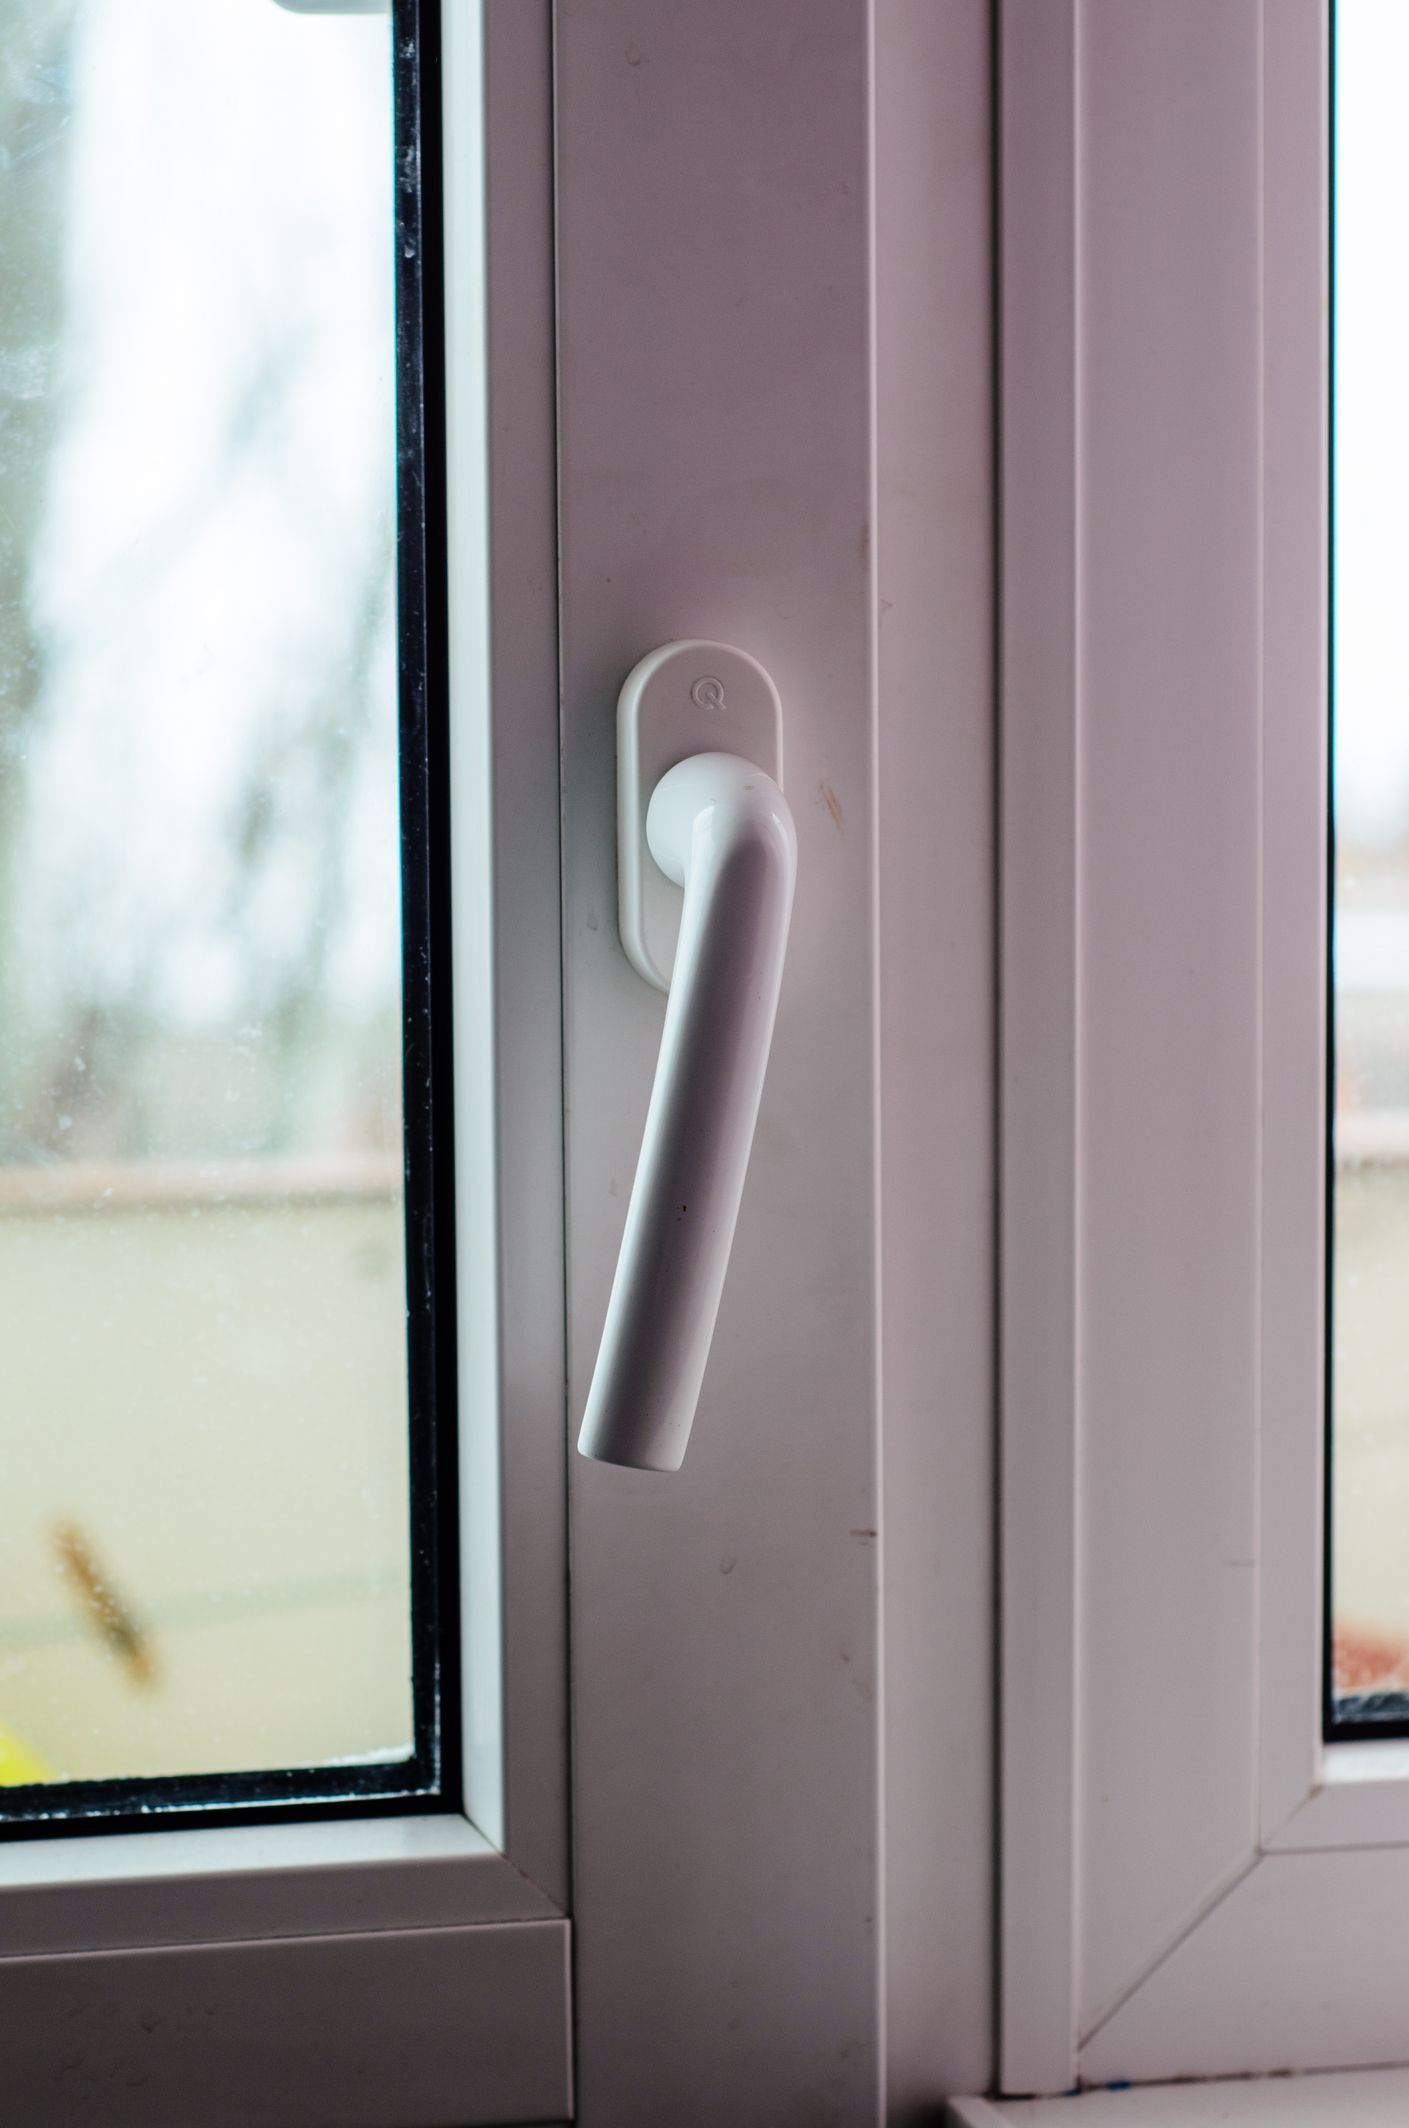
Step 3: Inspect locks and latches
Locks, latches, and other closing mechanisms may wear or break with enough use. For example, a window that can’t close properly will let in air and moisture. Operate each window individually to ensure everything is working. If something sticks or is difficult to operate, try cleaning and lubricating it.
If a thorough cleaning and lubrication don’t do the trick, the mechanism may need to be repaired or replaced. Contact your local window professional to get it fixed or purchase a replacement part and make the repair yourself. Once all window locking mechanisms are in working order, firmly close and lock every window in your home. This ensures you get the best possible seal before winter begins.
Step 4: Window treatments
Once you’ve completed the maintenance items that help ensure your windows last a long time and stand up to the elements, you can cover your windows to keep the cold out. Window insulation kits are a more affordable way to insulate multiple windows. In addition, using heat control window film doesn’t interfere with the look of your windows.
What to do:
- Leaving up to 1-inch space from the window frame border, apply adhesive tape to the entire window.
- Lay the plastic film sheet flat and cut accordingly to window measurements. It’s recommended to leave up to an excess of 5 inches.
- Press the plastic sheet firmly onto the taped frame from top to bottom. Make sure there are no gaps.
- From top to bottom, and working 3 inches to 5 inches away from the plastic, use a hairdryer on high heat and quickly run it over the plastic. Heat the entire window, getting out as many wrinkles as you can.
- Repeat the last steps as necessary if you are concerned about wrinkles in the plastic.
Removable magnetic window insulation is also a cost-effective and seamless solution to drafty windows if you enjoy fresh air from time to time. Replace the adhesive tape with magnetic tape on the plastic vinyl for this option.
Thermal window curtains are another great option. These curtains are heavy and lined with foam to provide additional insulation. They not only help with the cold, but they also reduce the noise in your home and block out sunlight. And once spring comes, it’s easy to swap thermal curtains out for lighter window treatments.
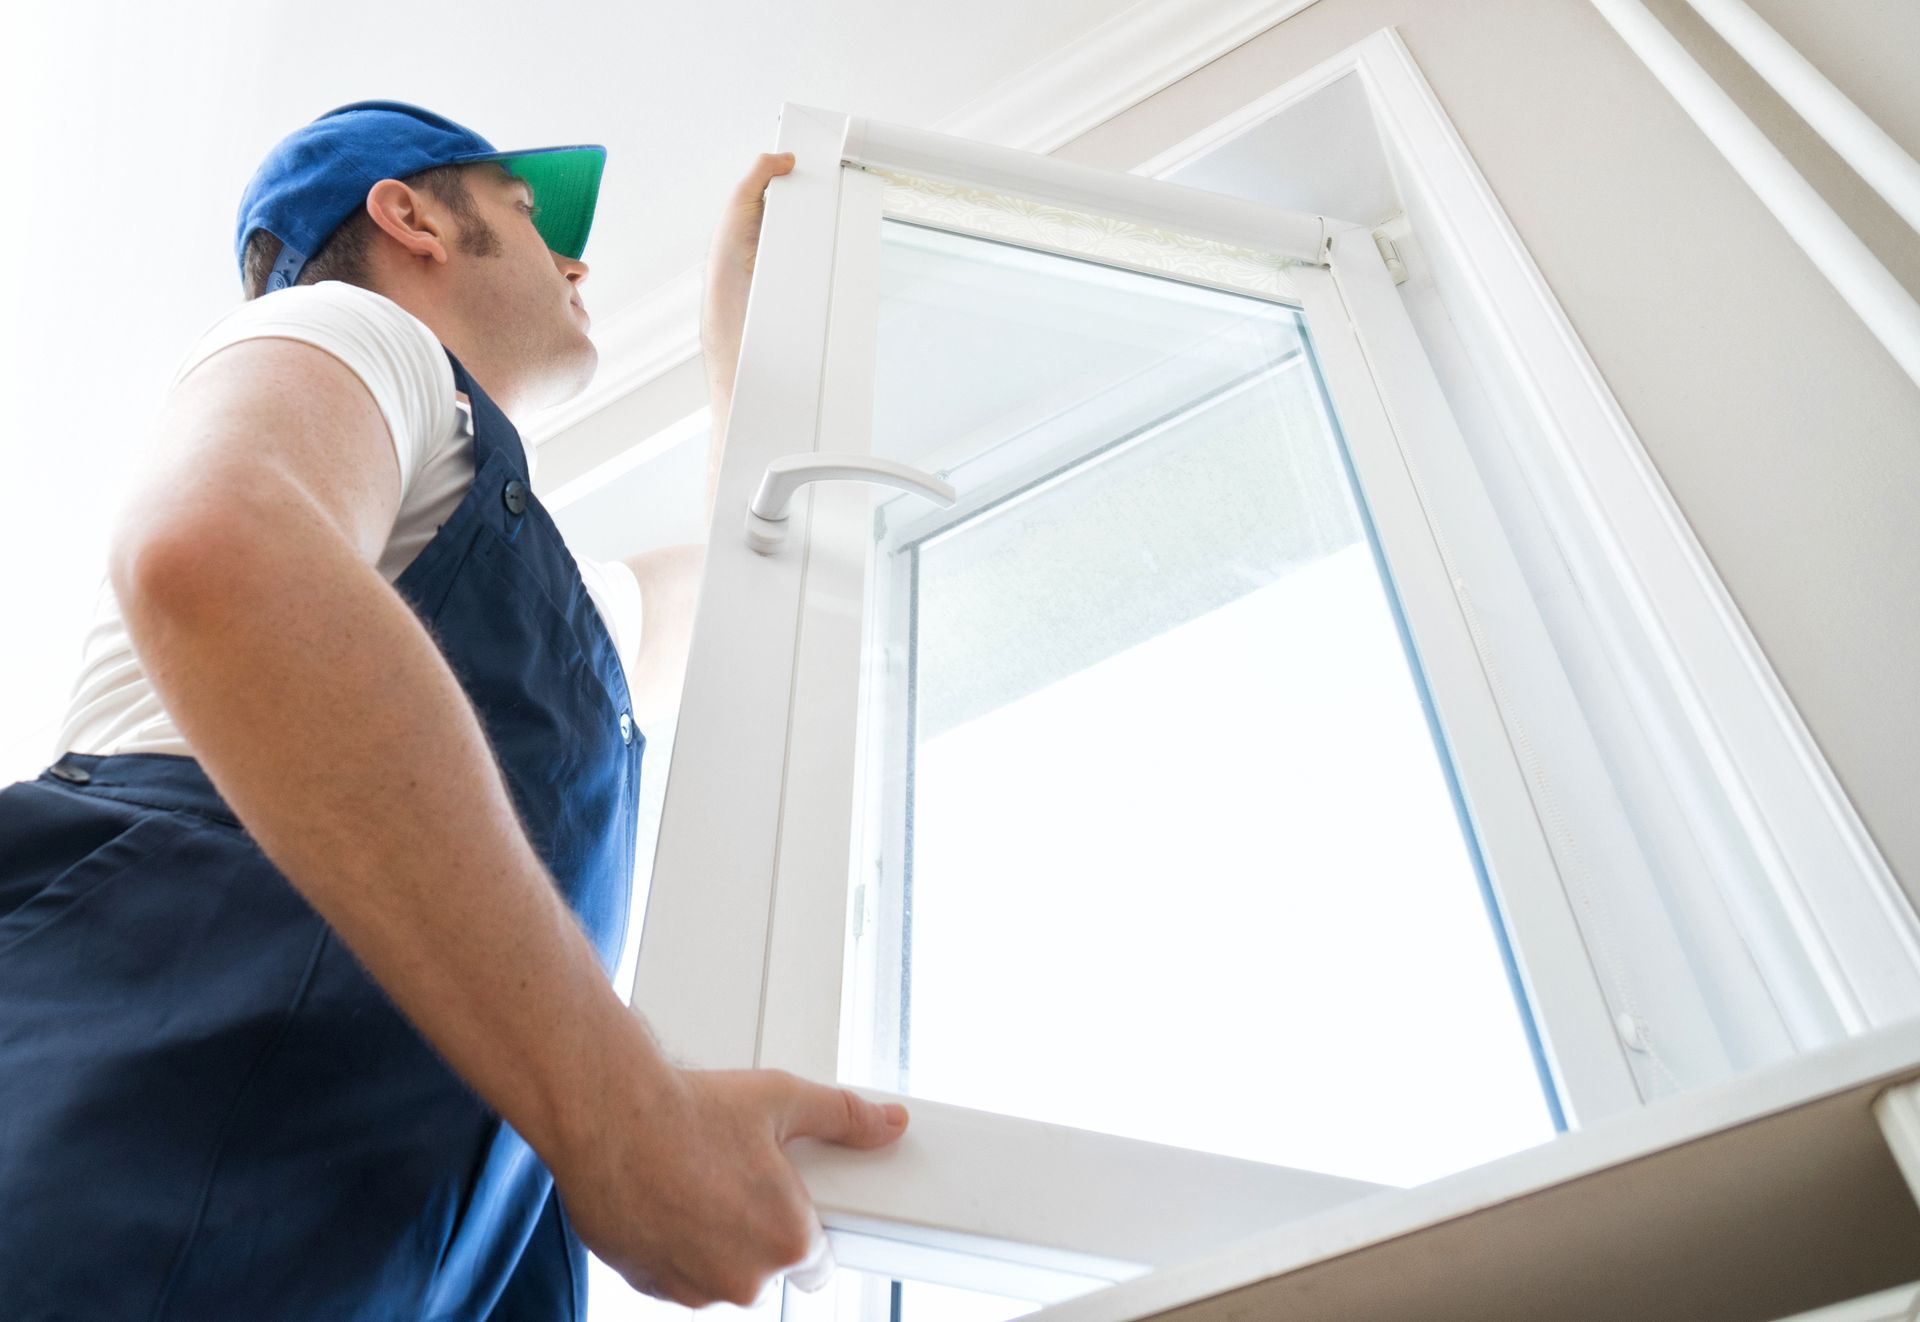
Over time, you may find that your annual efforts to winterize your windows aren’t paying off like they used to. Instead, you feel more drafts, and your HVAC system works a little harder to maintain a comfortable temp. That’s when it’s time to consider energy-efficient windows. Talk to the professionals at Siefken Contracting to help you decide if a window replacement is suitable for your home.